Generating a nice-looking PDF with Pandoc
I’m starting from MarkDown, and in fact since I write blog posts in MarkDown format, I’m using the blog as source material for this (how meta).
For the impatient, here’s the punchline:
pandoc pandoc-nicer-pdf.md --template eisvogel -V linkcolor=blue -V header-includes:'\usepackage[export]{adjustbox} \let\includegraphicsbak\includegraphics \renewcommand*{\includegraphics}[2][]{\includegraphicsbak[frame,#1]{#2}}' -o pandoc.pdf
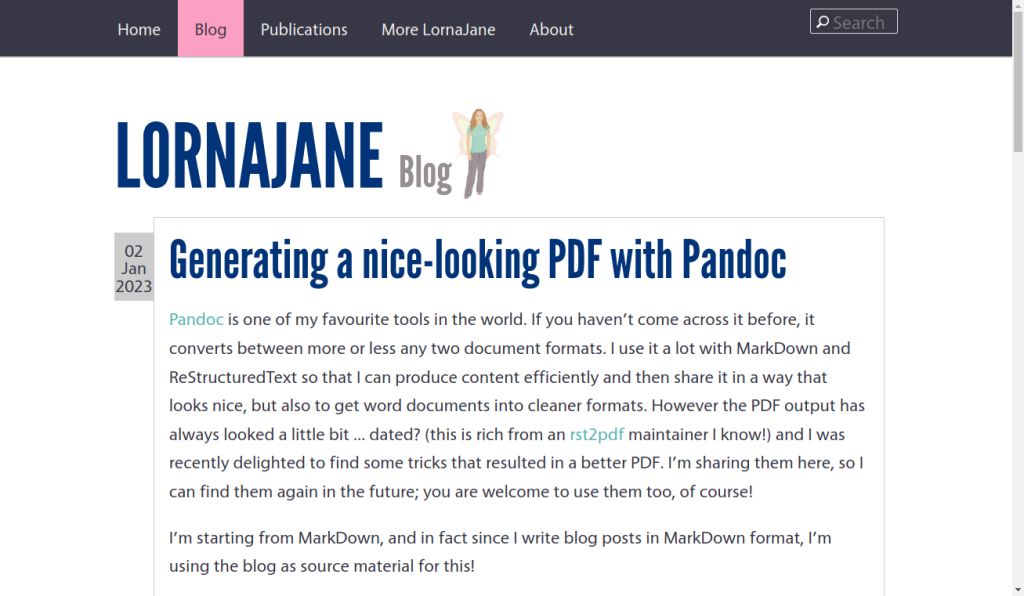
For the curious, the next few sections outline how I got there. But first: here’s a screenshot of the blog post you haven’t read yet, since I’ll need an image for demonstration purposes:
Build the PDF from MarkDown
Start simple! Take a markdown file and make a PDF from it:
pandoc pandoc-nicer-pdf.md -o pandoc.pdf
I mean, it’s a great outcome from almost no work at all on my part, but we can do better…
Adopt a template
I looked around for a better template and came across Eisvogel on GitHub which looked really great. The install instructions in the project README are good and will get you set up and the template in the right place for Pandoc to find it.
TL;DR on Ubuntu I needed some additional packages (this is a new laptop so I have hardly anything installed):
latexandtexlive-fonts-extrato get the ClearSans font that’s used.
Apply the template when building the PDF:
pandoc pandoc-nicer-pdf.md --template eisvogel -o pandoc.pdf
Set some variables
It’s possible to configure Pandoc with a yaml block but I didn’t want to change my source document, and I was also doing a one-off process so I stuck to putting the extra variables on the command line.
PDFs can have clickable links these days, and I expected the document to be mostly used digitally (if printing, you probably want to show link destinations as footnotes), so I set the link colour:
pandoc pandoc-nicer-pdf.md --template eisvogel -V linkcolor=blue -o pandoc.pdf
At this point, the document looks pretty decent, much more “me” than the standard output, but the images were sort of hanging around in the text, looking weird.
Then I found this brilliant question and answer on the TeX StackExchange which pointed me at some additional variables that add a border around images.
pandoc pandoc-nicer-pdf.md --template eisvogel -V linkcolor=blue -V header-includes:'\usepackage[export]{adjustbox} \let\includegraphicsbak\includegraphics \renewcommand*{\includegraphics}[2][]{\includegraphicsbak[frame,#1]{#2}}' -o pandoc.pdf
There are lots of things I like about outputting content to a known layout. PDFs have fonts and images included, so you can always send a document to another person or device, and know that it will arrive intact and looking its best! Since I mostly write for digital outlets, the layout really doesn’t matter, but being able to very easily transform it into something tangible is brilliant, and I really like how this turned out.
Here is the PDF of this blog post if you want to see how it turned out.
What are your Pandoc tricks? Please share them in the comments, I would love to add to my box of tricks!


Thanks for the tip – I just switched the doc-generating toolchain for one of my projects to this template. I was previously generating pdf via apache fop, but this one looks nicer!
The only downside seems to be the requirement to install a bazillion latex packages, which takes time and makes the CD containers swell…