
An Intro to Your ESP8266
Start with Firmware
The first thing you need is some firmware to base things on. I used a NodeMCU build; there are a few ways to obtain one of these but I used the charming donation-driven site https://nodemcu-build.com. You pick your options, supply an email address, and wait. The link to your custom build will show up in a few minutes. The chip doesn’t have a lot of resources, so the custom build means you can pick and choose what to include. Here’s what’s in mine:
- color_utils
- file
- gpio
- http
- mqtt
- net
- node
- sjson
- tmr
- uart
- wifi
- ws2812
- ws2812_effects
(those last two entries are the neopixel bits!)
While you wait for the build to arrive, connect the ESP8266 to your laptop and install esptool, probably from pip.
Ready? Cool! Upload the build:
esptool --baud 115200 write_flash -fm dio 0x00000 [build file from earlier].bin
Write Some Code
These little chips have a few options for code but I’m using Lua which I hadn’t seen before, but which is pretty approachable. I like it, but I am not sure I will need a Lua category on this blog any time soon!
I began with a file named init.lua – by default the built will pick this up when the chip is powered up or reset.
To put the code onto the board, my command looks like this:
nodemcu-tool upload --port=/dev/ttyUSB0 init.lua
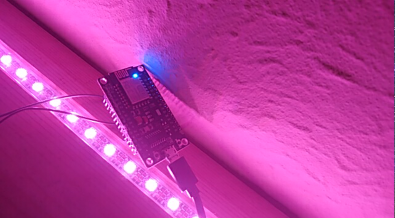
The light on the back will show “chatter” while the transfer is happening, then you can press “reset” to power cycle the board and see your code in action!
Debugging Tips
I needed a lot of these. Start with the obvious and keep your code in source control, only change one thing at a time!
You can add print('hello world') commands in your code, and you will them when you attach to the running device with screen, like this:
screen /dev/ttyUSB0 115200
If you’re unfamiliar with screen, you may find yourself stuck in this screen! Press Ctrl + a (all screen commands start that way) and then k, followed by y to confirm.
Pro tip: You need to exit screen to be able to use the serial connection to upload a new version of code!
I’ll write about my actual application another day, there’s enough going on there that it needs a post of its own – but dumping my stuck-in-a-handy-textfile commands here will make it easier for me to find them next time. If you’re doing a similar project and refer to these instructions, I would love to hear what you’re building!