If you've ever seen a live demo, you will know that these things are fraught with danger. Even if the wifi works, the presenter knows what they are doing, and nothing crashes, you'll often end up watching someone explaining something to their laptop in detail, or clearly demonstrating their inability to type. Either way, it doesn't make good, informative content, which is why I never ever demo in a conference talk - I'm there to entertain and time is always of the essence. At this point, you can probably guess why I'm writing a blog post about my screencasting toolchain - I simply pre-record whatever it is that I want to show in the talk.
On an ubuntu platform, I've had a few false starts with video over the years, and mostly avoided it. But now my "Debugging HTTP" talk really does make more sense if you can see the process of something broken, what the tools show, and how to understand that information and fix the problem.
Kazam
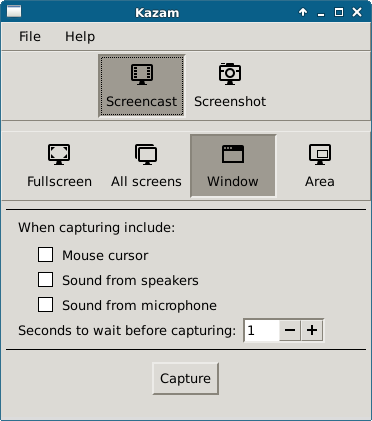
Kazam has had a recent rewrite, which arrived when I upgraded my machine to 13.04 (raring ringtail, or as it's known around here, raving ringtail). This removed the option to capture all that appeared on one monitor, but did improve pretty much everything else on offer. You can capture in mp4 or webm formats, and it's possible to capture an area, a desktop, or (and this is what I chose) a single window.
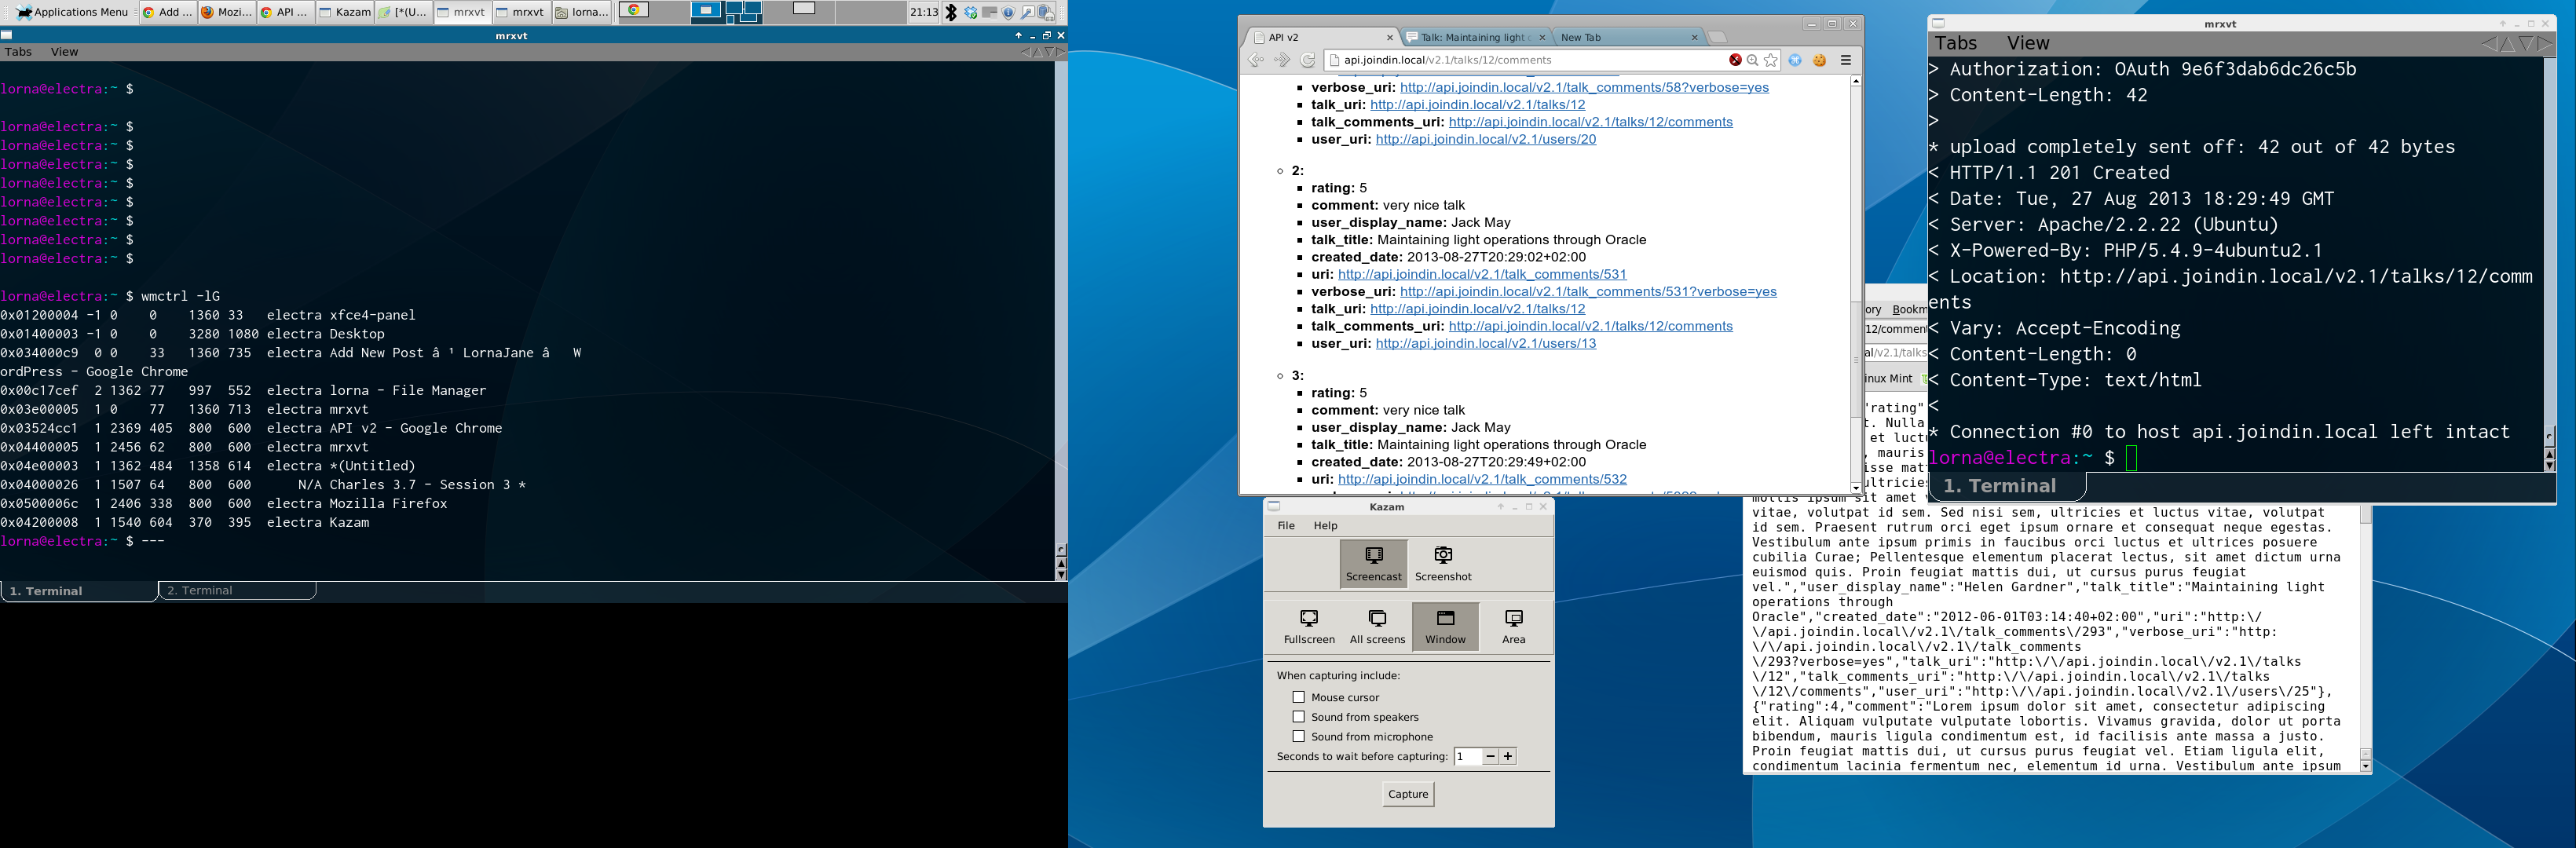
I wrote already about resizing all my windows to the same size with wmctrl, and using that technique in tandem with Kazam worked really well. I run a terminal on my laptop monitor, and then all the tools for screencasting and the things I'm capturing on another monitor:
Click on the "window" option, and Kazam prompts you to choose a window by clicking on it (okay so it greys out the whole screen but just take a close look at where you need to click before it happens). I recommend that you focus the window you are going to record and then switch focus to Kazam. When you begin capture, Kazam will just release its focus, not jump to the window that you are actually capturing, so it's worth making sure it goes to the right place.
For each of the videos I want to make, I create a storyboard of the steps that will be shown, then create a little video snippet of each step which can be stitched together later (more in a separate post because this was tricky). It's a very easy way to capture quick videos of something - I've also used it to show colleagues a weirdness on a web page, for example - it's super handy. I have used it with sound, but usually don't bother as videos for conference talks have me talking over them as I go along. Mostly I try to run the video pretty quickly, then when presenting I pause it at the important points - I think the results are slicker that way than when I try to guess how much I have to say at each point.