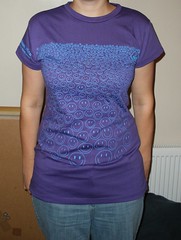
I began with this rather excellent tutorial, and an oversized shirt (my sister brought this back from scout camp last year).
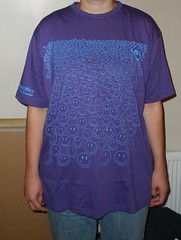
I also took a favourite t-shirt that fits me nicely (not too tight, the finished article is still going to be a t-shirt) and used this as a template. Clothes that fit are pretty rare as I’m above average height, but I have a few favourites. In a nutshell, you draw around the main body of your template shirt (I used kiddy chalk, because it was handy), then make sleeves but by lining your template shirt up against the cuffs of your victim shirt.
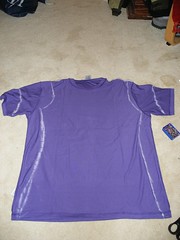
I tacked (by hand) up the marked side seams, and tried the shirt on (inside out) to make sure it fit and I could get into it and so on (its easy to overestimate how stretchy something is and not be able to actually get into the finished article!). It was fine so I cut out along the chalk lines.
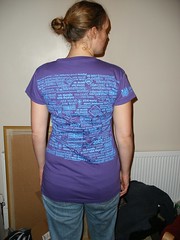
The only really tricky part came next … fitting the sleeves. In fact I had to phone home for some help (thanks mum!) and it turns out what you do is: Put the shirt down inside out and the sleeve the right way out, but post the sleeve in through the armhole with the hand-end of the sleeve inward-most – like a top with the arm inside out. Then the pins go inside this inside-out sleeve, at right angles to how you are going to sew, and with the points pointing out at you. Then you sew round the armhole and just sew over the pins with the machine. I hope that makes sense – I’m hoping it’ll remind me for next time anyway (/me points and laughs at future self reading these instructions)
Sew round the sleeves and down the sides, and take out the tacking. In theory you should also overstitch the hems but … I didn’t quite manage to wait that long before trying on my new shirt.