
Intro to RPi Pico with Mini Memory Game
I’ve tried to write down and link to the stuff I found useful along the way with this project, in case it helps you too. Well, no, really so I can come back to it next time I’m using one of these!
Hardware Setup
The picos ship without the legs soldered on, so that was step 1. There’s some good info in the Pimoroni getting started tutorial for pico but I would also recommend the How to solder pins to your RPi Pico article from Tom’s Hardware, it was a lot like having @biglesp actually here to help me!
Tl;DR put the legs into a breadboard and then solder the board on top, that way everything is aligned correctly.
Firmware
I used the custom firmware from Pimoroni because I needed the library for the rgb keypad. To add the firmware, connect the chip to your computer in bootloader mode (hold down the button when you connect and for another couple of seconds) and it will appear as USB storage. Put the firmware .uf2 file into the USB storage and it will reboot itself.
Tools
A lot of the tutorials suggest something called Thonny but I’m a software developer with accessibility needs, so I steered clear of that. Instead I used a neat tool called rshell which you can install via pip. It is designed for micropython and has a repl and some file handling features; I found it did everything I needed.
One thing to look out for is that the current release 0.0.28 seemed to be a little bit strange about both its default values and it had some problems with file uploads just hanging on particular files. However it’s an active project and the pico branch worked like a charm. Clone the repo, check out the branch, and use r.py in place of your usual rshell command. This information will probably be outdated quite quickly though so it’s just here in case it helps.
Start rshell with your pico already attached:
rshell -p /dev/ttyAMC0 --buffer-size=512
When it starts, it’ll tell you what it thinks your board is called, probably pyboard, in which case the files on the device will appear as being in the path /pyboard/. The RPi Pico runs main.py when it boots, and you can copy it up with a command like:
cp main.py /pyboard/
The Raspberry Pi Pico DataSheet has some excellent information about getting set up and connected, and also has some good examples. It looks like a serious document but the “Say Hello World” and the “Blink an LED” section should work with any repl and any Pico.
It’s
Ctrl+xto exit the rshell repl. It does helpfully point this out when it starts, but of course that’s not the moment when you need the info.
Actual development cycle
I find with a lot of hardware projects that I can get to “hello world” quite quickly but then there’s a whole cycle of ejecting the disk or attaching to get debug output that makes the feedback loop pretty tedious. With rshell I am using this one-liner after each time I’ve saved my mydemo.py file:
rshell cp ../pi-pico/mydemo.py /pyboard/ && rshell repl '~' import mydemo '~'
Take the '~' off the end if you want to keep the repl active and watch the debug output.
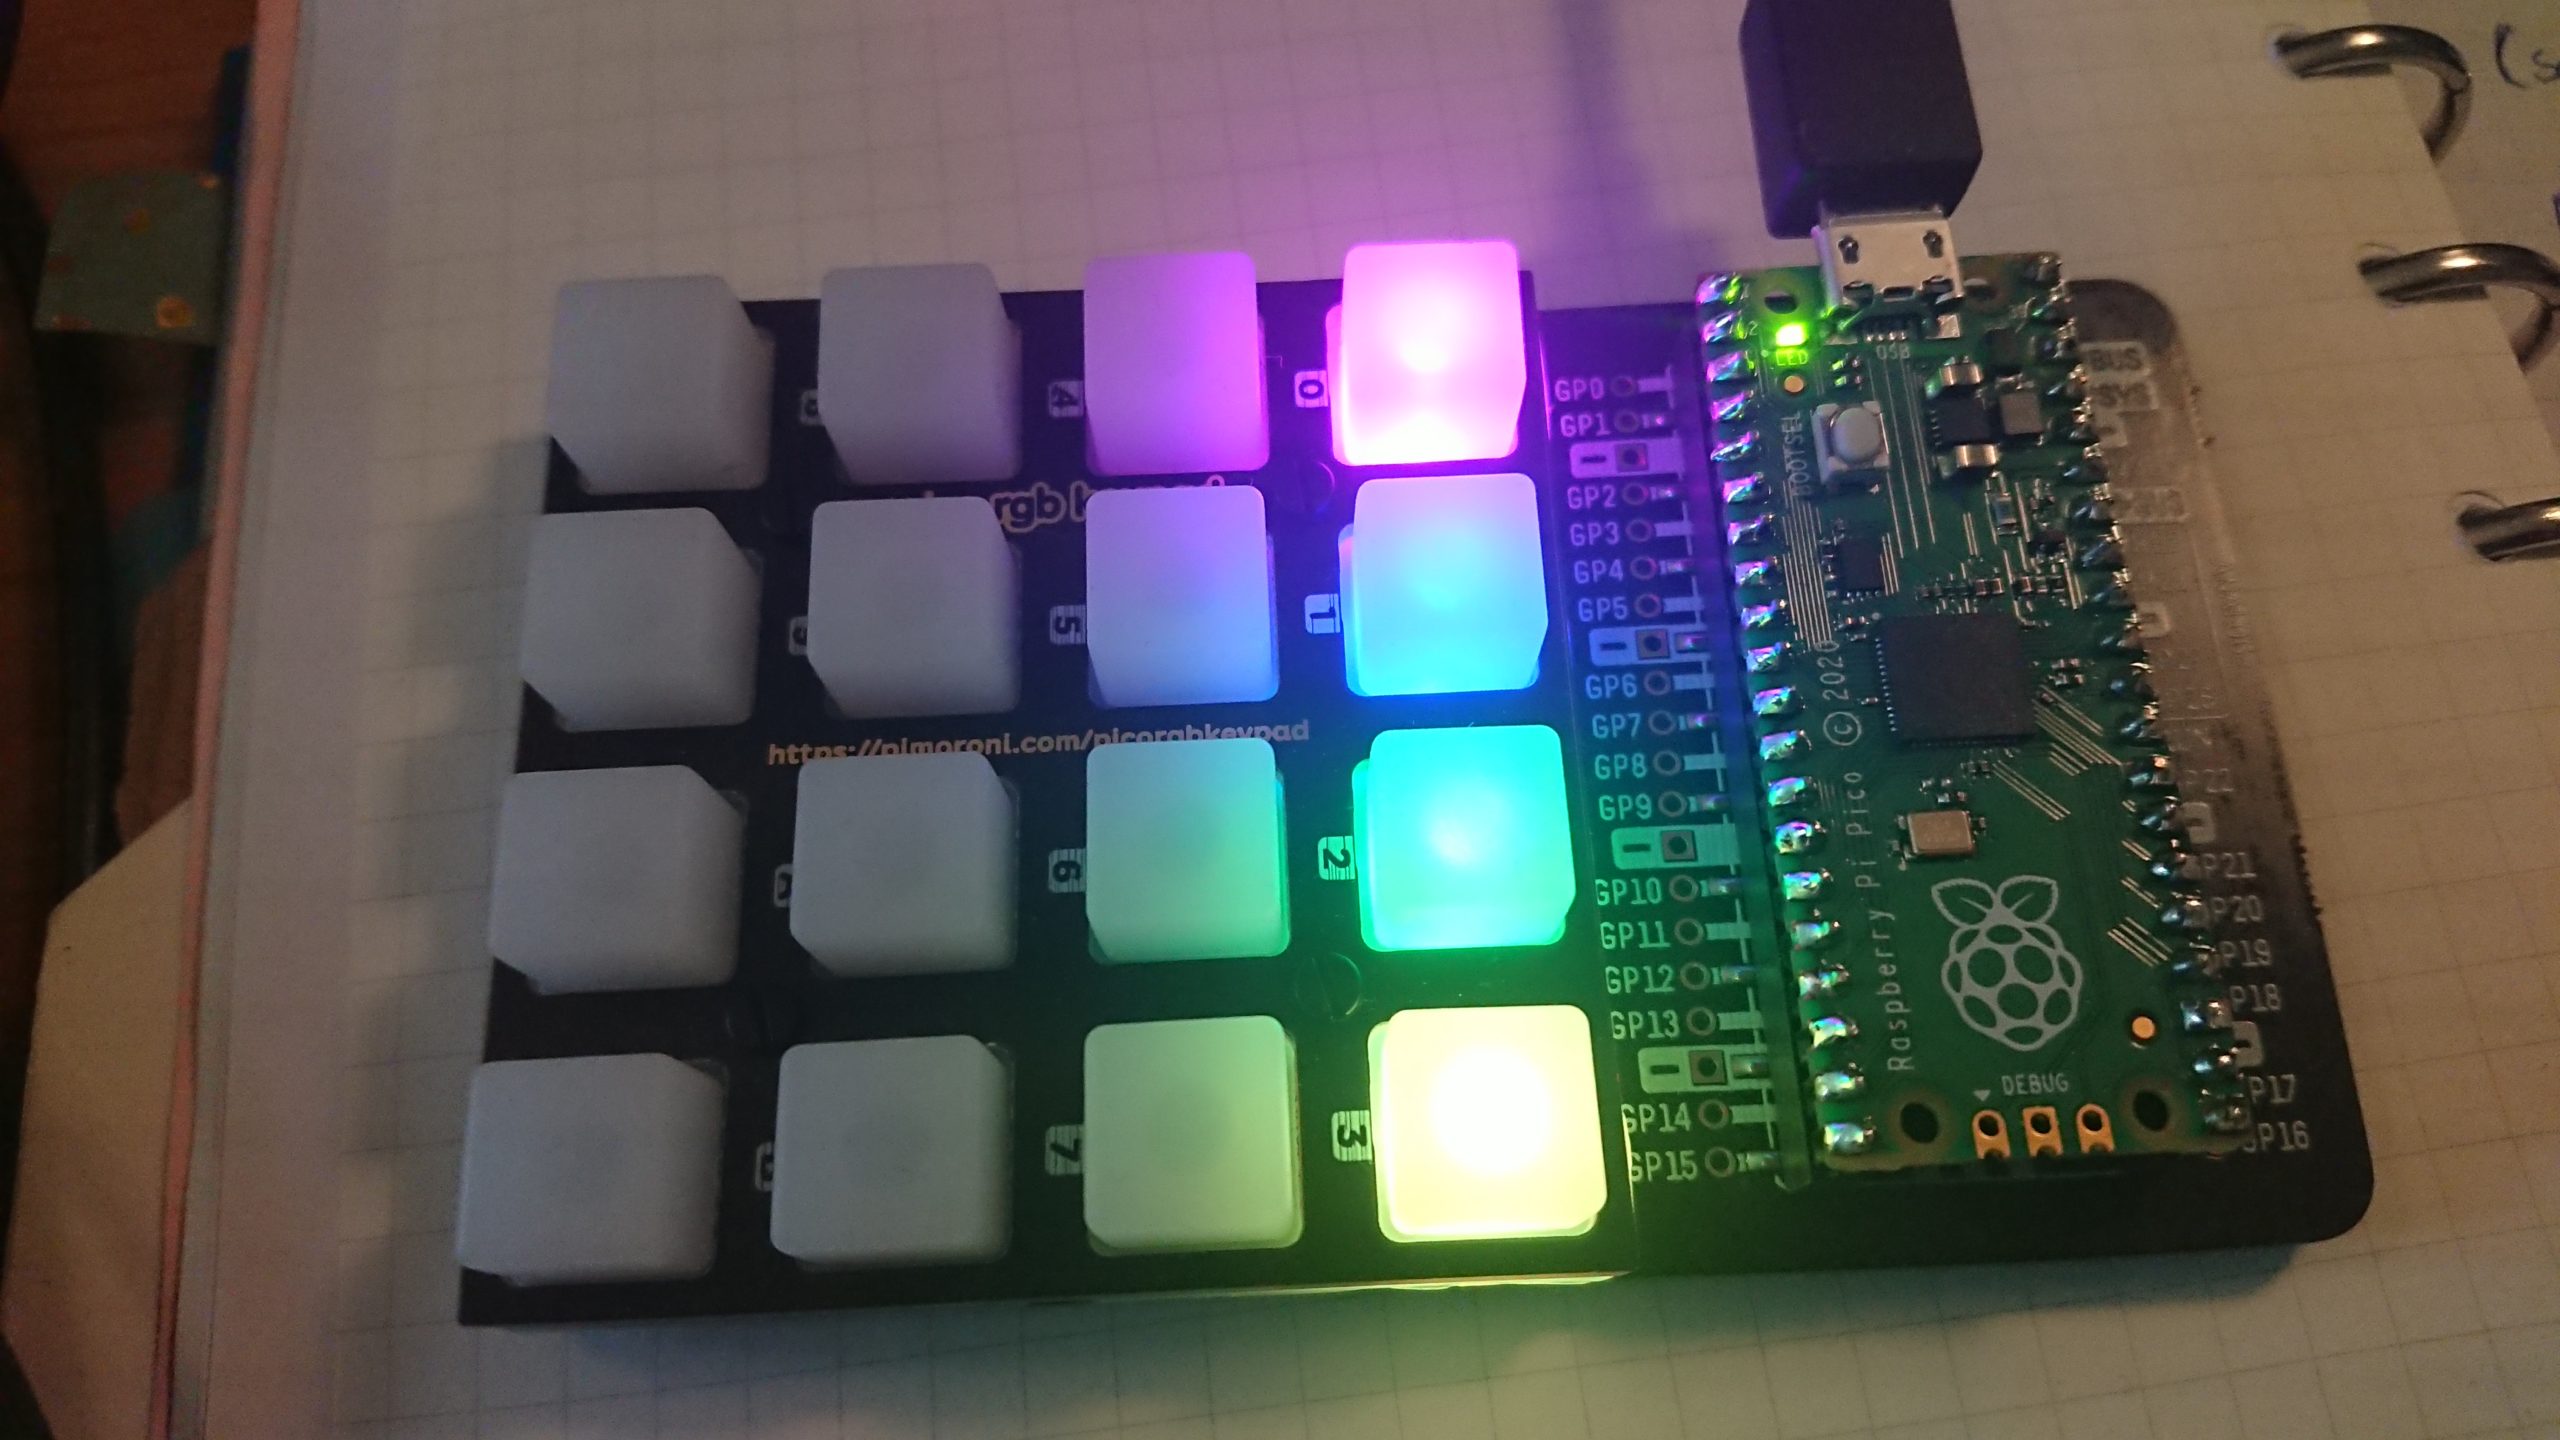
Mini Memory Game (The Actual Software)
This bit is the most fun because it’s when the lights light up and there are buttons to press :)
I made a game! It works like this:
- A pattern of lights is shown for a few seconds
- The lights are shuffled around the board
- The user presses pairs of buttons to swap lights over until the lights match the first pattern
- You win! Press the flashing green button in the corner to get the next level
Posting all the code into a blog post doesn’t seem that useful so instead, check out my GitHub repo of fun RPi Pico things.
There are a bunch of other resources that I found useful:
– An excellent demo from Pimoroni but hidden in a micropython directory so look closely!
– Also from Pimoroni A library with docs and examples
– Everything about RPi Pico on Tom’s Hardware, that’s a link to the roundup post and I had 3 or 4 tabs open at one point, it is all excellent.
This Raspberry Pi Pico is a very different beast from the traditional approach of a tiny linux computer, and is more like the ESPs that I’ve used before. But they’re quite approachable and MicroPython is fairly friendly to code with as well, so I’m looking forward to hearing what everyone is making!
Ah – thank you, this saved me a lot of time. I was left wondering for a couple of hours how to get files on to the pico and have MicoPython and was struggling to find the docs. /pyboard/main.py.
I came across that post while struggling my mind to have a better solution for our M0CUBE HMI project.
Since we decided to use Raspberry Pico almost in every M10CUBE design.
For many reasons using the PCF8574A chip idea was too old fashion and not power enough for our needs.
Thanks for the inspiration
M10CUBE project: https://hackaday.io/project/171770-m10cube
GitLAB : https://gitlab.com/m10cube/m10
Vasilis